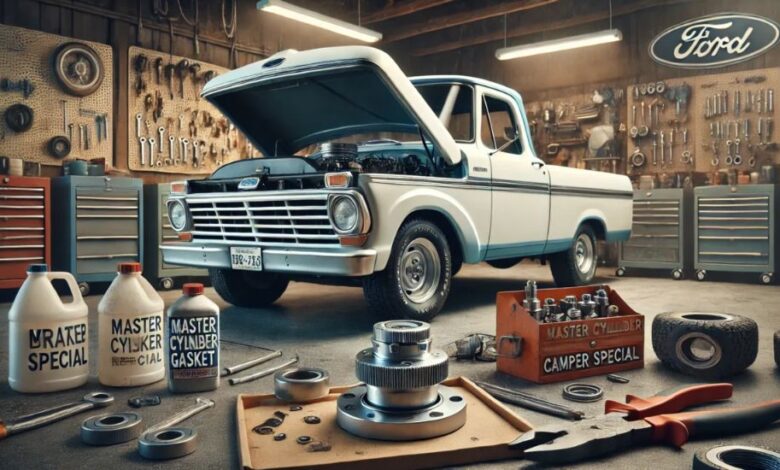
Everything You Need to Know About 1968 F250 Camper Special Master Cylinder Replacement
The 1968 Ford F250 Camper Special is a beloved classic, but like all vintage vehicles, it requires regular maintenance to keep running smoothly. One of the most crucial components of the truck’s braking system is the master cylinder. If you’re experiencing issues with your braking performance, such as a soft or spongy pedal, poor braking response, or fluid leaks, it might be time for a 1968 F250 Camper Special master cylinder replacement.
In this article, we’ll explore everything you need to know about replacing the master cylinder on your 1968 F250 Camper Special, from the signs of failure to the steps required to replace it. This guide is ideal for DIY enthusiasts and mechanics who want to restore the reliability of their classic truck’s braking system.
At Sphere Magazines, we understand the importance of keeping classic vehicles in top condition. We’ll walk you through the master cylinder replacement process in a detailed and straightforward manner to help you get your 1968 F250 Camper Special back on the road safely.
What is a Master Cylinder and Why Does It Matter?
Before diving into the replacement process, it’s important to understand what a master cylinder does. The master cylinder is a vital component of the braking system in your 1968 F250 Camper Special. It is responsible for converting the force from your foot on the brake pedal into hydraulic pressure, which then activates the brake components at each wheel.
If the master cylinder is malfunctioning or damaged, the vehicle’s brakes will not respond correctly, leading to decreased braking efficiency and potential safety hazards. This is why the 1968 F250 Camper Special master cylinder replacement is such an important repair.
Signs You Need to Replace Your 1968 F250 Camper Special Master Cylinder
Before proceeding with a replacement, it’s essential to recognize the signs of a failing master cylinder. Here are the most common symptoms:
- Soft or Spongy Brake Pedal: If your brake pedal feels unusually soft, spongy, or sinks to the floor, it’s often a sign that air or moisture has entered the brake lines due to a failing master cylinder.
- Brakes Not Responding Well: If you notice that your truck is not stopping as quickly or as effectively as it used to, the master cylinder could be losing its ability to generate enough hydraulic pressure.
- Leaking Brake Fluid: A visible brake fluid leak near the master cylinder, usually around the cap or seals, is a major indicator that the cylinder has failed.
- Warning Lights: On some models, the brake warning light may illuminate if there’s an issue with the braking system.
If you notice any of these symptoms, it’s time to consider a 1968 F250 Camper Special master cylinder replacement.
Tools You Will Need for the 1968 F250 Camper Special Master Cylinder Replacement
Replacing the master cylinder on your 1968 F250 Camper Special requires the right tools and preparation. Here’s a list of tools you’ll need to complete the job:
- Socket Wrench Set
- Brake Fluid
- Brake Line Wrenches
- Fluid Catcher or Drain Pan
- Replacement Master Cylinder
- Brake Bleeder Kit
- Torque Wrench
- Safety Glasses and Gloves
Make sure you have these tools and equipment ready before beginning the replacement. Working with brake components can be dangerous if you’re not fully prepared.
Step-by-Step Guide to Replacing the 1968 F250 Camper Special Master Cylinder
Replacing the master cylinder on the 1968 F250 Camper Special is not a quick job, but with the proper instructions, it’s achievable for most experienced DIYers. Follow these steps to perform the 1968 F250 Camper Special master cylinder replacement:
1. Prepare Your Vehicle
Before you begin any work, make sure the vehicle is on a flat, stable surface. It’s also essential to ensure that the parking brake is engaged and the truck is turned off. Use wheel chocks for added safety, especially if you are working on an incline.
2. Locate the Master Cylinder
The master cylinder on the 1968 F250 Camper Special is located near the brake booster on the driver’s side of the engine compartment. It is typically a metal cylindrical component with two or more brake lines connected to it.
3. Drain the Brake Fluid
Before removing the master cylinder, you must drain the brake fluid from the system. Place a fluid catch pan under the master cylinder and carefully remove the brake fluid reservoir cap. Allow the fluid to drain completely, and dispose of it properly as brake fluid can be harmful to the environment.
4. Disconnect the Brake Lines
Use a brake line wrench to carefully disconnect the brake lines from the master cylinder. Be sure to avoid damaging the brake lines, as they will need to be reconnected to the new master cylinder. You may need to use a flare nut wrench to remove stubborn connections.
5. Remove the Master Cylinder
Once the brake lines are disconnected, you can proceed to remove the mounting bolts that secure the master cylinder to the brake booster. Use a socket wrench to remove the bolts and gently pull the master cylinder away from the brake booster.
6. Install the New Master Cylinder
Position the new master cylinder in place and secure it with the mounting bolts. Ensure that it is aligned properly with the brake booster and that the mounting bolts are tightened securely. Be careful not to overtighten, as this could damage the threads or the master cylinder.
7. Reconnect the Brake Lines
Reattach the brake lines to the new master cylinder. Make sure that the connections are tight and secure to avoid any leaks. It’s also a good idea to apply a small amount of thread sealant to the threads of the brake lines for added security.
8. Refill the Brake Fluid
Once the master cylinder is securely in place, refill the brake fluid reservoir with the appropriate type of brake fluid for your 1968 F250 Camper Special. Make sure to use the recommended fluid, as different types of fluid can cause damage to the brake system.
9. Bleed the Brakes
After installing the new master cylinder and filling the reservoir, it’s crucial to bleed the brakes to remove any air from the brake lines. Use a brake bleeder kit to bleed each brake line, starting with the farthest wheel from the master cylinder (usually the passenger side rear) and working your way closer.
10. Test the Brakes
Once the brake system is bled and the fluid levels are correct, start the truck and test the brakes. Press the brake pedal to ensure it feels firm and responsive. If the pedal still feels soft, you may need to bleed the brakes again to remove any remaining air.
Additional Tips for 1968 F250 Camper Special Master Cylinder Replacement
- Always check for leaks: After replacing the master cylinder and reconnecting the brake lines, always double-check for any leaks around the master cylinder and brake line connections. Leaks can lead to brake failure.
- Don’t rush the process: While replacing the master cylinder on your 1968 F250 Camper Special is manageable, it’s important not to rush through the job. Take your time to ensure everything is done correctly for your safety.
- Replace other components if necessary: If you notice any wear or damage to other brake components (such as brake pads, rotors, or brake lines), it’s a good idea to replace them during the master cylinder replacement process.
Conclusion: Ensuring Safe and Reliable Braking for Your 1968 F250 Camper Special
The 1968 F250 Camper Special master cylinder replacement is a crucial repair that ensures your truck’s braking system works efficiently and safely. By following the steps outlined above and using the proper tools, you can perform this repair with confidence. Regular maintenance of your braking system is essential for the safety of both you and others on the road.
At Sphere Magazines, we are passionate about helping you maintain and restore your classic vehicle. Whether you’re a DIY mechanic or someone looking to keep their 1968 F250 Camper Special running smoothly, we hope this guide has provided you with valuable insights. Always remember that proper maintenance is key to keeping your classic truck in top shape.